7 Steps to Build Your Own Do It Yourself Inground Swimming Pool
To build your own inground swimming pool, start by planning the design, location, and getting necessary permits. This initial step is crucial to ensure your project complies with local regulations and suits your backyard space. Careful planning lays the foundation for a successful DIY inground pool.
Next, excavate the area to the right dimensions and depth. Precision during excavation ensures the pool structure fits perfectly and functions properly.
Then, install the pool’s structure and plumbing, ensuring everything is secure and leak-free. Proper installation prevents future issues and maintains water integrity.
Apply the chosen surface finish and add decorative touches. These elements give your pool a personalized and polished look.
Set up the filtration and electrical systems carefully, then fill your pool and balance the water chemistry. Proper system setup is essential for clean, safe swimming water.
Follow these steps, and you’ll get a solid foundation for creating the perfect backyard retreat. Your DIY inground swimming pool will be ready for enjoyment and relaxation.
Planning Your Pool Design and Location
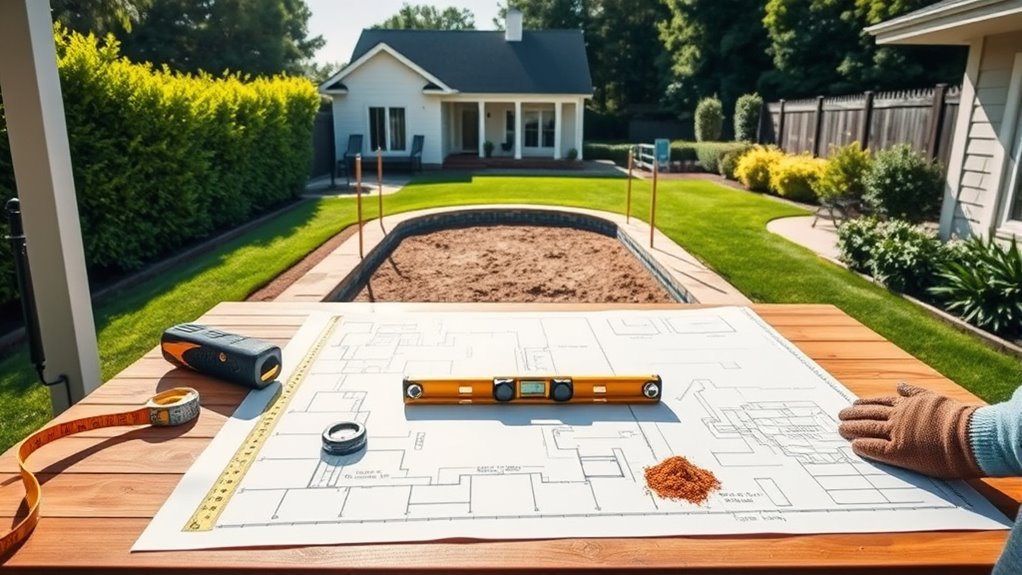
Before you begin construction, you need to carefully plan your pool’s design and location to guarantee it fits your space and meets your needs. Start by measuring your yard to understand the available area.
Carefully plan your pool’s design and location to ensure it fits your space and suits your needs.
Consider the pool shape, such as rectangular, kidney-shaped, or freeform, based on your aesthetic preferences and how you’ll use the pool. Think about sunlight exposure and shade throughout the day to maximize comfort.
Also, look out for underground utilities or tree roots that could complicate digging. Position the pool where it won’t interfere with existing structures or landscaping.
Don’t forget to plan for access during construction and future maintenance.
Taking time now to map out your pool’s design and location sets you up for a smoother building process and a pool you’ll enjoy for years.
Obtaining Permits and Meeting Local Regulations
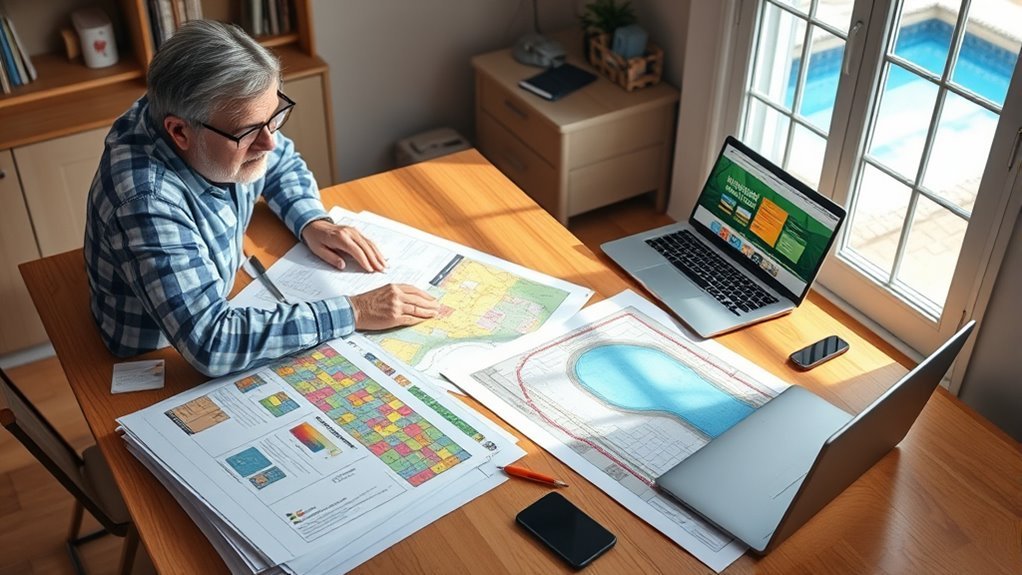
Once you’ve settled on your pool’s design and location, you’ll need to check with your local authorities about permits and regulations. Start by visiting your city or county’s building department website or office to learn the specific requirements for inground pools.
You’ll likely need a building permit, and some areas require fencing or safety barriers around pools. Also, inquire about setback rules, utility line clearances, and any environmental restrictions.
Submit detailed plans and wait for approval before proceeding.
Ignoring permits can lead to fines or forced removal. By securing all necessary permits and adhering to local codes upfront, you’ll avoid delays and ensure your pool meets safety standards, making your DIY project smoother and compliant from the start.
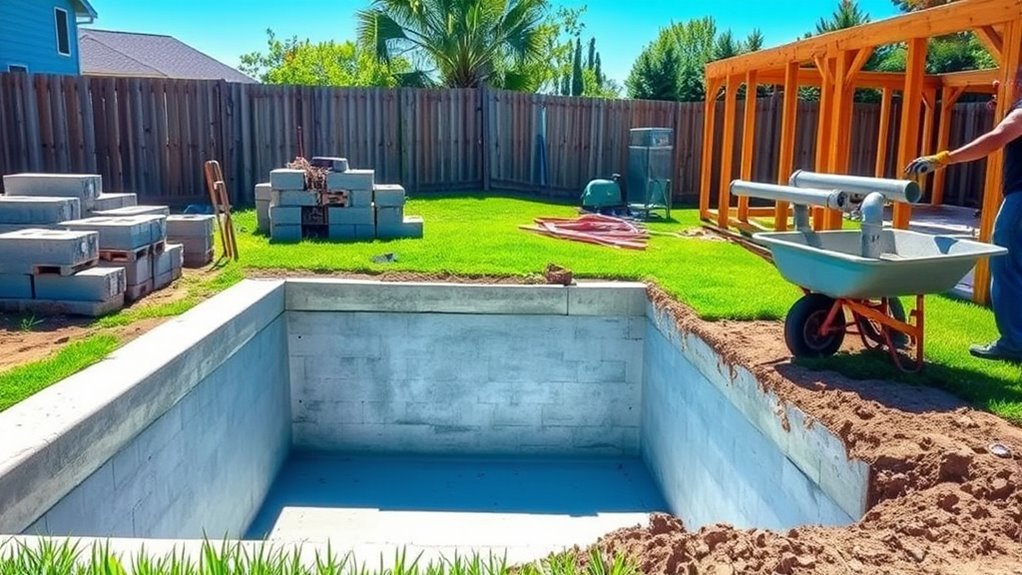
Excavating the Pool Area

How deep and wide should you dig to bring your pool design to life? Start by marking the pool’s outline clearly using stakes and string or spray paint. Your excavation must match the pool’s dimensions plus extra space for the walls and plumbing.
Measure carefully to avoid costly mistakes. Next, remove the topsoil and dig down to the required depth, which varies depending on your pool’s design, usually between 4 to 8 feet. Use a skid steer or mini-excavator for efficiency, but hand tools can work for smaller pools.
Ensure the bottom is level and compact the soil to create a stable base. Keep the excavation clean and free of loose dirt to prepare for the next step: installing the pool structure and plumbing.
Installing the Pool Structure and Plumbing
With the excavation complete and the base leveled, you can start assembling the pool structure and laying out the plumbing. Begin by positioning the wall panels or steel frame, securing them tightly.
Next, install the main plumbing lines for water circulation, connecting skimmers, drains, and returns. Make sure all joints are sealed to prevent leaks.
| Task | Tools Needed | Tips |
|---|---|---|
| Assemble structure | Wrench, level | Check alignment frequently |
| Lay plumbing lines | PVC cutter, primer | Use high-quality sealant |
| Connect fittings | Pipe wrench, pliers | Tighten without overtightening |
| Pressure test system | Air pump, gauge | Test before backfilling |
Following these steps ensures a sturdy pool frame and reliable plumbing system.
Applying Pool Surface and Finishing Touches
After securing the pool structure and plumbing, you’ll want to focus on applying the pool surface and adding finishing touches that guarantee durability and aesthetic appeal.
Start by selecting a surface material like plaster, pebble, or tile, which not only protects the pool shell but also enhances its look.
Apply the chosen surface evenly, ensuring a smooth finish.
Then, consider these finishing touches to elevate your pool:
- Install coping stones around the pool edge for a clean, polished border
- Add decorative tiles or mosaics for a unique design element
- Seal all surfaces to prevent water penetration and damage
- Smooth out all joints and corners to avoid sharp edges
- Apply a non-slip coating to ensure safety around the pool
These steps will help you create a pool that’s both beautiful and built to last.
Setting Up Filtration and Electrical Systems
Although installing the filtration and electrical systems can seem complex, breaking the process into clear steps makes it manageable. Start by selecting a high-quality pool pump and filter that match your pool’s size.
Installing pool filtration and electrical systems is simpler when broken down into clear, manageable steps.
Position the pump and filter near the pool, ensuring proper drainage and easy access for maintenance. Connect the plumbing lines from your pool’s skimmer and main drain to the filter, then link the filter outlet back to the pool return lines.
For electrical work, install a dedicated circuit breaker in your main panel, following local codes for safety. Run conduit and wiring from the breaker to the pump and any lighting fixtures, using a licensed electrician if you’re unsure.
Finally, test the system to confirm proper flow and electrical function before moving forward.
Filling Your Pool and Starting Maintenance
How do you guarantee your new inground pool stays clean and inviting? Start by filling it slowly to prevent wall damage and monitor for leaks.
Once filled, balance the water chemistry to protect the surface and equipment. Regular maintenance will keep your pool sparkling. Here’s what you should do:
Test and adjust pH, alkalinity, and chlorine levels weekly.
Run the filtration system daily for at least 8 hours.
Skim the surface and vacuum debris regularly.
Brush pool walls and steps to prevent algae buildup.
Shock the pool every couple of weeks to eliminate contaminants.
Frequently Asked Questions
What Is the Best Time of Year to Build an Inground Pool?
The best time to build an inground pool is during spring or early summer when the weather is warm and dry. This helps you avoid delays caused by rain, ensuring a smoother construction process and timely completion.
How Do I Estimate the Total Cost of Building My Pool?
You know what they say, “A penny saved is a penny earned.” To estimate your pool’s total cost, add materials, labor, permits, and extras.
Then include a 10-20% buffer for unexpected expenses.
Can I Add Heating Systems to My DIY Inground Pool?
Yes, you can add heating systems to your DIY inground pool. Consider solar, electric, or gas heaters based on your budget and climate.
Make sure to plan the installation early for peak efficiency and integration.
What Safety Features Should I Consider for My Pool Area?
You should install a secure fence with a self-locking gate, use pool covers, add non-slip surfaces, and keep rescue equipment nearby.
Consider alarms for water movement or gate entry to guarantee your pool area stays safe for everyone.
How Long Will the Entire DIY Pool Project Typically Take?
You’ll typically spend 2 to 4 months completing your DIY pool project, depending on experience, weather, and available help.
Staying organized and patient will keep your progress steady and on track throughout the process.
Conclusion
By following these seven steps, you’re not just building a pool—you’re creating your own backyard oasis. It’s no coincidence that each stage, from planning to filling, flows smoothly when you stay organized and patient.
As you immerse yourself in this project, you’ll find the satisfaction of seeing your vision come to life is as invigorating as the first swim. So, roll up your sleeves—it’s time to make a splash you’ll enjoy for years.
Building your own DIY inground swimming pool is a rewarding experience that combines creativity, hard work, and careful planning. With these steps, your dream backyard transformation is within reach.