
7 Steps to Change a Swimming Pool Light Bulb Safely
To change a swimming pool light bulb safely, start by turning off the pool’s power supply to avoid electric shock. This essential safety step protects you from potential electrical hazards. Next, use a screwdriver to remove the light fixture and gently pull it out from the pool wall.
Drain the niche to prevent water from causing any hazards while you work. Carefully unscrew the old bulb, taking care not to damage the fixture. Inspect and clean all fixture parts thoroughly before installing the new bulb.
After placing the new bulb securely, reassemble the light fixture properly to ensure it is watertight. Finally, restore power to the pool and test the light to confirm it is working correctly. Keep following for detailed tips and safety tricks to complete the job efficiently and safely.
Turn Off the Pool Power Supply
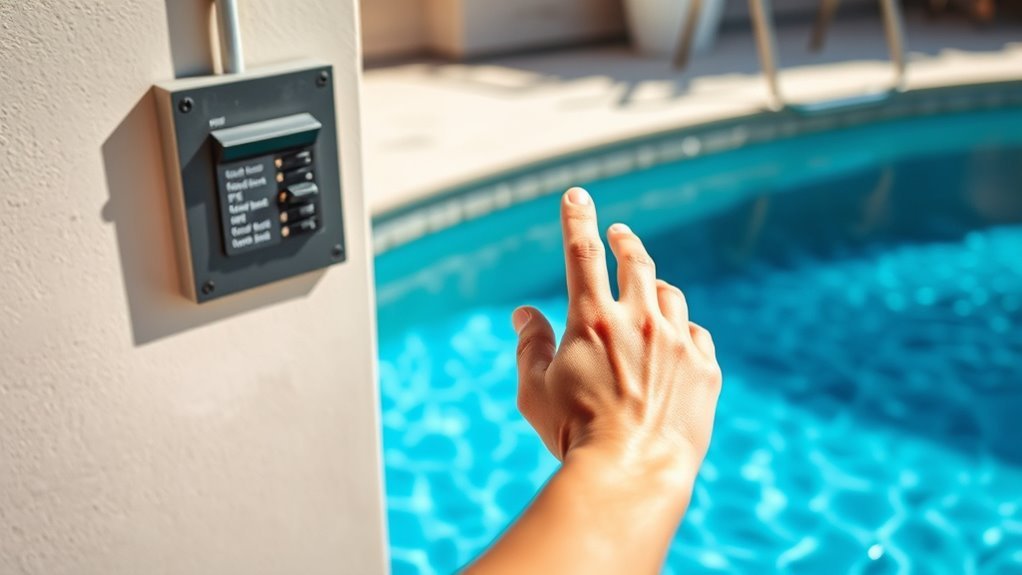
Before you do anything else, make sure you turn off the pool’s power supply. This step is vital to avoid electric shock while working on the light bulb. Locate the circuit breaker panel and find the breaker dedicated to the pool’s lighting system. Flip the switch to the OFF position.
If you’re unsure which breaker controls the pool light, turn off the main breaker to cut power to the entire house temporarily. After switching off, test to confirm the power is off by trying to turn the pool light on. If it doesn’t light up, you’re safe to proceed.
Never skip this safety step. It protects both you and the equipment, preventing accidents during the bulb replacement process.
Remove the Pool Light Fixture
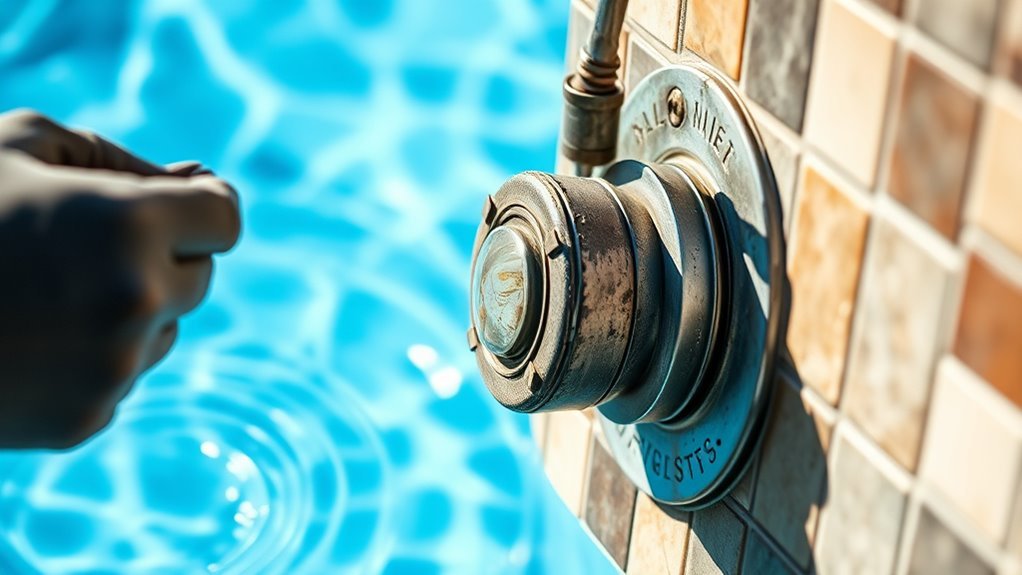
How do you safely remove the pool light fixture without causing damage? First, make sure the power is off. Then, use a screwdriver to loosen the screws holding the fixture in place.
Gently pull the fixture out, avoiding excessive force. Be mindful of the wiring connected to the fixture.
| Step | Tool Needed | Caution |
|---|---|---|
| Loosen screws | Screwdriver | Avoid stripping screws |
| Pull out fixture | Hands | Pull gently, watch wiring |
| Inspect fixture | Visual check | Look for cracks or corrosion |
Following these steps will help you remove the fixture safely and prepare for the next phase without damage or electrical hazards.
Drain the Pool Light Niche
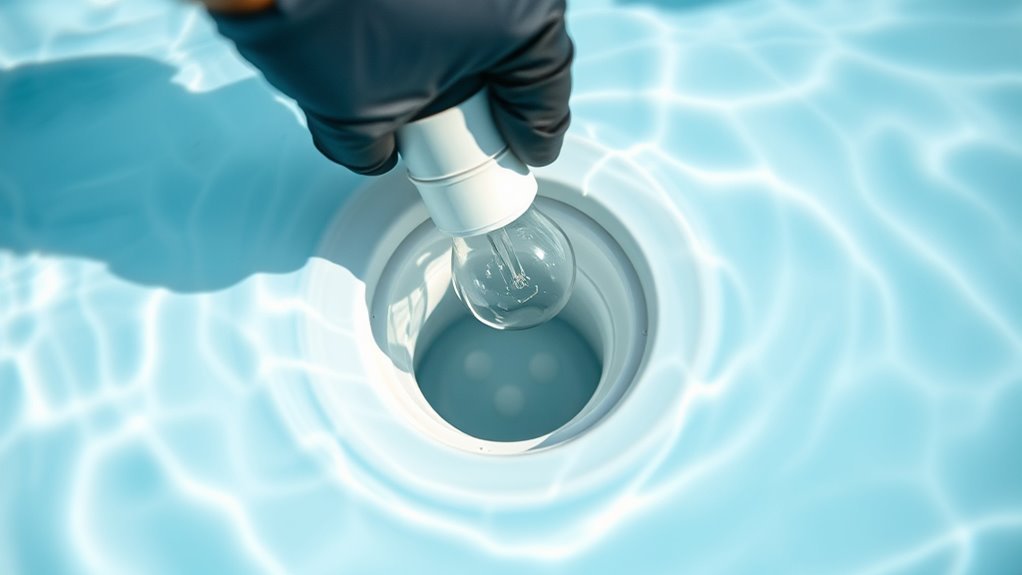
Draining the pool light niche is a crucial step to prevent water from spilling into the fixture once you remove the bulb. To start, locate the niche’s drain valve or use a wet/dry vacuum designed for this purpose.
Draining the pool light niche prevents water from entering the fixture when removing the bulb.
If your pool has a drainage system, open the valve slowly and let the water flow out until the niche is empty. Alternatively, position the vacuum hose in the niche and create suction to pull out the water.
Make sure you’re working carefully to avoid disturbing the pool’s water level too much. Once drained, inspect the niche to confirm it’s free of water before proceeding.
Taking this precaution ensures the light fixture stays dry and safe, reducing the risk of electrical hazards during your bulb replacement.
Unscrew the Old Light Bulb
Once the niche is completely dry, you can safely unscrew the old light bulb. Firmly grip the bulb’s base and turn it counterclockwise.
If it resists, avoid forcing it; instead, apply gentle, steady pressure until it loosens.
Use gloves or a cloth to protect your hands and prevent oils from transferring to the bulb or fixture.
Keep a secure hold to avoid dropping the bulb into the niche or pool.
If the bulb feels stuck, double-check the niche is dry and that you’re turning in the correct direction.
Once loosened, carefully lift the bulb out and set it aside on a safe, padded surface.
This step guarantees you remove the bulb without damaging it or the fixture.
Inspect and Clean the Fixture Components
Before installing the new bulb, carefully inspect the fixture components for any signs of damage or buildup. Check the socket for corrosion or rust, as these can prevent a secure connection or cause electrical issues.
Look over the gasket or O-ring for cracks or wear; a damaged seal could let water in, leading to shorts or bulb failure. If you spot any debris, mineral deposits, or algae, clean them thoroughly using a soft cloth and a mild, non-abrasive cleaner.
Avoid harsh chemicals that might degrade the materials. Make sure all parts are dry before proceeding.
Taking these steps helps guarantee the fixture maintains a tight seal and functions safely once the new bulb is installed.
Install the New Pool Light Bulb
How do you guarantee the new pool light bulb fits correctly and functions safely? First, check that the replacement bulb matches the exact type and wattage specified by the pool light manufacturer.
Avoid using bulbs that differ in voltage or size, as they can cause malfunctions or hazards. Handle the bulb carefully, preferably with clean gloves, to prevent oils from your skin damaging the glass.
Insert the bulb gently into the socket, aligning it properly without forcing it in. Ensure it seats firmly but avoid over-tightening, which can break the bulb or damage the fixture.
Double-check the bulb’s placement to confirm it’s secure. Taking these steps guarantees your new pool light bulb will work efficiently and safely during use.
Reassemble the Fixture and Restore Power
After making certain the new bulb fits securely and correctly, you can start reassembling the fixture. Begin by carefully placing the fixture back into its housing, making sure it aligns properly with the mounting bracket.
Tighten any screws or fasteners firmly but avoid over-tightening, which could damage the fixture. Next, replace the fixture cover or lens, ensuring it seals tightly to prevent water from entering.
Once everything is securely in place, restore power at the circuit breaker.
Finally, turn on the pool light switch to test the bulb. If the light doesn’t come on, double-check connections and ensure the breaker is fully switched on.
Following these steps will help you safely complete the process and enjoy your illuminated pool.
Frequently Asked Questions
What Type of Bulb Is Best for Underwater Pool Lighting?
You’ll want to choose LED bulbs designed specifically for underwater pool lighting. They’re energy-efficient, long-lasting, and provide bright, clear illumination.
Make sure the bulb is waterproof and rated for underwater use to guarantee safety and durability.
How Often Should Pool Light Bulbs Be Replaced?
You should replace pool light bulbs about every 1 to 2 years, or whenever they dim like a fading star. Regular checks help you avoid sudden blackouts and keep your pool glowing brilliantly all season long.
Can I Upgrade to LED Pool Lights Easily?
Yes, you can easily upgrade to LED pool lights. Just make certain your fixture supports LED bulbs or replace it if needed.
LEDs save energy, last longer, and improve pool lighting, making the upgrade worthwhile and straightforward.
What Safety Gear Is Recommended When Changing Pool Bulbs?
Like gearing up for a knight’s quest, you should wear rubber gloves, non-slip shoes, and safety goggles when changing pool bulbs. These protect you from electric shocks, sharp edges, and slippery surfaces, keeping you safe throughout.
How Do I Know if My Pool Light Fixture Is Waterproof?
You’ll know your pool light fixture is waterproof if it has a gasket seal, is rated for wet locations, and the manufacturer specifies it’s waterproof.
Check for corrosion resistance and a secure, tight enclosure to keep water out.
Conclusion
Now that you’ve swapped out that pool light bulb, you’re ready to dive back into crystal-clear evenings. Changing the bulb might seem tricky, but with these steps, you’ve handled it like a pro—lighting up your pool like a lighthouse guiding ships home.
Just remember to keep safety first and power off. With a little care and patience, your pool will shine bright and inviting for many swims to come. Following these 7 steps to change a swimming pool light bulb safely ensures your pool lighting remains both beautiful and secure.