7 Easy Steps to Install an Above Ground Swimming Pool Liner
To install your above ground pool liner, start by preparing the pool frame and leveling the base. This ensures a stable foundation for your new liner. Next, remove the old liner and clean the surface thoroughly to prevent any debris from damaging the new one.
Unfold and inspect your new liner carefully, then position it inside the pool, smoothing out wrinkles as you go. Secure the liner’s bead into the track, and use a vacuum if needed to remove air pockets. Gradually fill the pool while adjusting the liner to maintain a perfect fit.
Keep going to discover more helpful tips for a perfect fit and enjoy your refreshed above ground swimming pool.
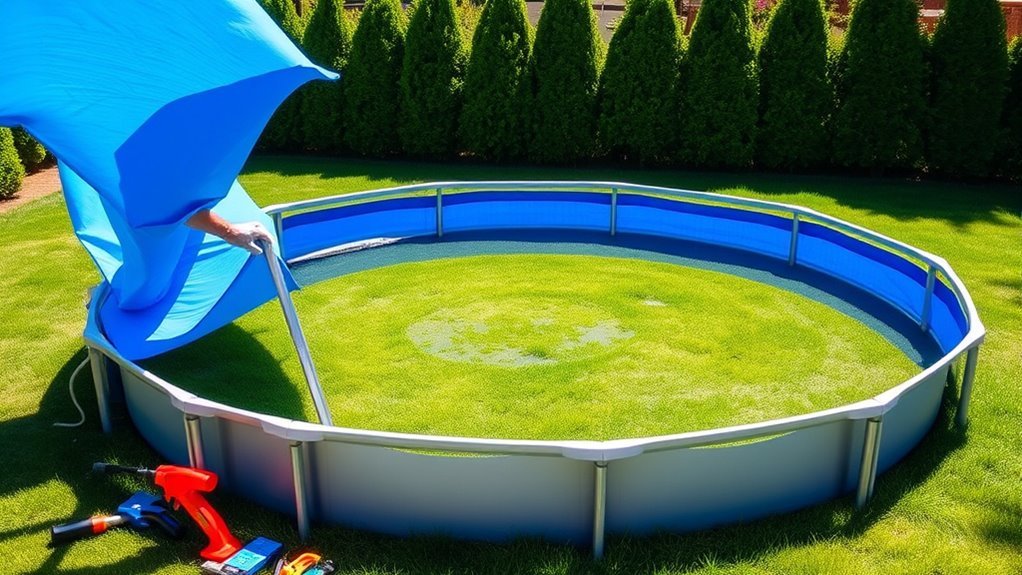
Prepare the Pool Frame and Base
Before you install the liner, make sure the pool frame is fully assembled and secure. Check each panel and joint to confirm they fit tightly without gaps or looseness. Tighten any bolts or screws as needed to ensure stability.
Next, inspect the base where the pool will sit. Clear away debris, rocks, or sharp objects that could damage the liner. Level the ground carefully, using a rake or shovel to create a flat, even surface.
If necessary, lay down a protective underlayment pad to cushion the liner and prevent punctures. Taking these steps will help you avoid future leaks or structural issues, making your pool safe and ready for the liner installation.
Remove the Old Liner and Clean the Surface
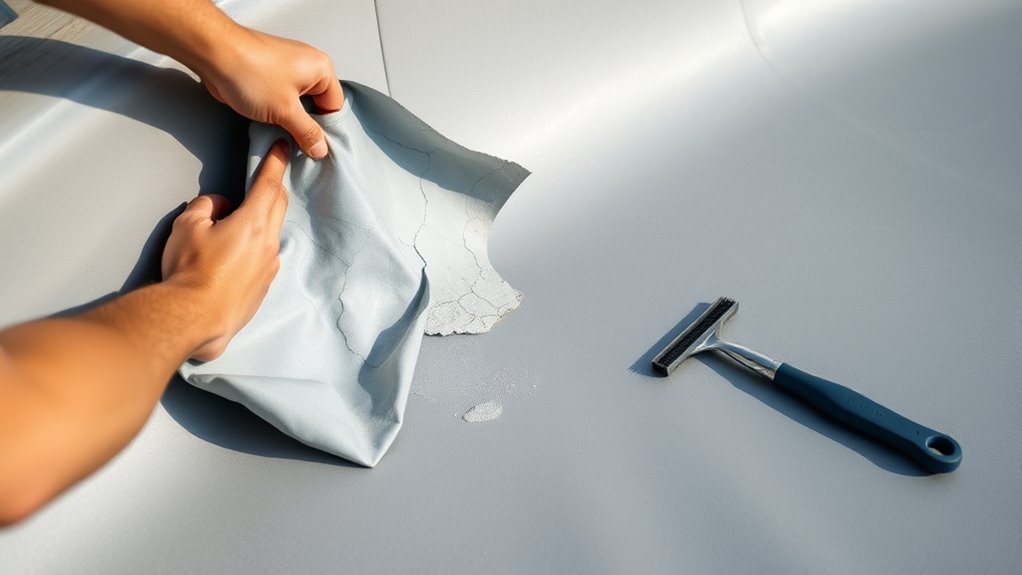
How do you guarantee your new liner fits perfectly? Start by removing the old liner carefully to avoid damaging the pool frame. Once removed, it’s essential to clean the surface thoroughly before installing the new one. Follow these steps:
- Remove the old liner: Gently pull it away from the walls, cutting it into manageable pieces if needed for easier disposal.
- Inspect the surface: Look for any debris, sharp objects, or remnants that could puncture the new liner.
- Clean the pool base and walls: Use a broom or brush to sweep away dirt and dust, then wipe down with a damp cloth to ensure a smooth, clean surface.
Taking these steps helps your new liner sit perfectly and last longer.
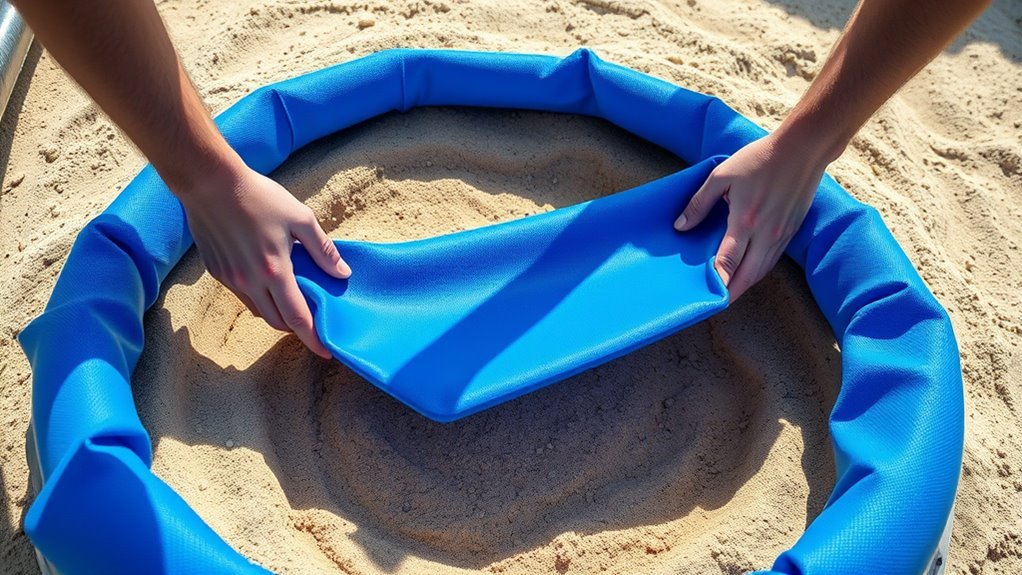
Unfold and Inspect the New Liner
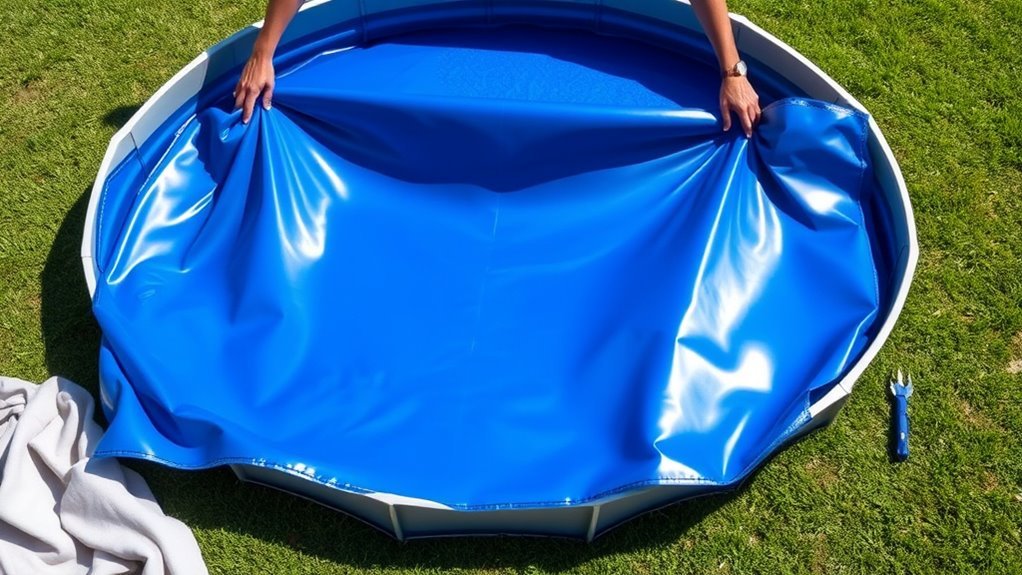
With the old liner removed and the pool surface spotless, you’re ready to unfold your new liner. Lay it flat near the pool, and be careful not to drag it over rough surfaces to avoid damage.
As you unfold, inspect the liner thoroughly for any defects like tears, holes, or manufacturing flaws. Catching these early saves you from future headaches.
Here’s a quick checklist to guide your inspection:
| Inspection Step | What to Look For | Action If Found |
|---|---|---|
| Visual Scan | Tears or holes | Note location, patch if small or contact supplier |
| Feel for Thickness | Even thickness across | Uneven areas may mean defects or weak spots |
| Check Seams | Secure and intact | Weak seams require repair or replacement |
Take your time; a perfect liner guarantees a smooth installation.
Position the Liner Inside the Pool
Where should you start when positioning the liner inside the pool? Begin by carefully placing the liner so it’s centered and evenly spread out. This guarantees a smooth fit and prevents wrinkles. Follow these simple steps:
- Align the liner’s seams with the pool walls, making sure the edges match the pool’s shape.
- Smooth out air pockets and wrinkles by gently pressing from the center outward.
- Check that the liner’s bottom lies flat on the pool floor without any folds.
Take your time moving the liner slowly to avoid damage. Once positioned correctly, you’ll have a solid base ready for the next step.
This careful placement makes all the difference in a secure, long-lasting pool liner installation.
Secure the Liner to the Pool Wall
Once your liner is properly positioned and free of wrinkles, it’s time to secure it to the pool wall. Begin by aligning the liner’s bead or flange with the pool’s top edge. Carefully insert the liner bead into the track or bead receiver, making certain it fits snugly without forcing it.
Work your way around the pool, pressing the liner bead firmly into place. Use a rubber mallet if needed to gently tap the bead into the track, but avoid sharp impacts that could damage the liner.
Double-check that the liner is evenly secured all around the wall to prevent slipping once the pool fills with water.
Taking your time during this step ensures a tight fit and helps maintain the liner’s integrity throughout the swimming season.
Smooth Out Wrinkles and Air Pockets
Although securing the liner is essential, you’ll need to smooth out any wrinkles and air pockets before filling the pool. These imperfections can cause damage or uneven water levels.
Here’s how to tackle them effectively:
Here’s a straightforward approach to smooth out wrinkles and air pockets efficiently.
- Start at the center: Gently push wrinkles and air pockets toward the edges using your hands or a soft broom, working outward in all directions.
- Check the liner’s fit: Make sure the liner lays flat against the pool floor and walls without stretching it too tight.
- Use a vacuum if necessary: For stubborn air pockets, a pool vacuum can carefully suck out trapped air beneath the liner, helping it settle evenly.
Taking these steps ensures a smooth, secure liner that will protect your pool and enhance your swimming experience.
Fill the Pool With Water Gradually
As you start filling the pool with water, do it gradually to prevent the liner from shifting or stretching. Fill the pool about a foot at a time, then pause to smooth out any wrinkles or air pockets that appear. This careful approach guarantees the liner settles evenly and maintains its shape.
Avoid rushing the process, as filling too quickly can create tension, causing damage or misalignment. Keep an eye on the liner’s edges, adjusting them gently if needed to fit snugly against the pool walls. Continue this pattern until the pool is full.
Taking your time here guarantees a secure, long-lasting fit, setting the stage for enjoyable, worry-free swimming all season.
Frequently Asked Questions
How Long Does an Above Ground Pool Liner Typically Last?
You can expect your above ground pool liner to last around 7 to 15 years, depending on maintenance, usage, and weather exposure. Regular care and avoiding harsh chemicals will help you extend its lifespan considerably.
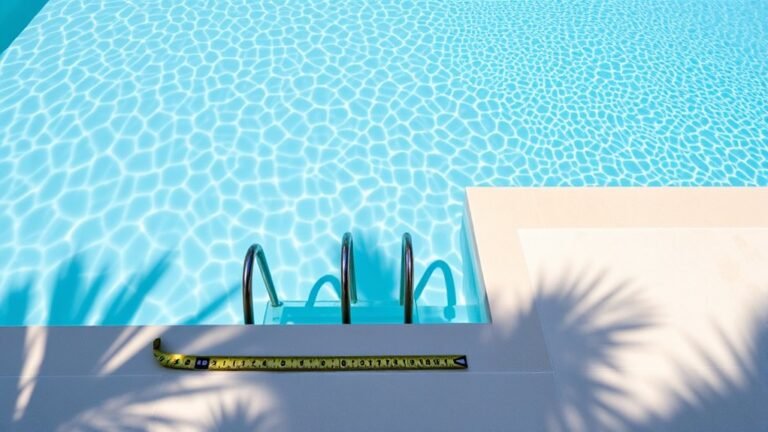
What Tools Are Needed to Install a Pool Liner?
You’ll need a squeegee, screwdriver, staple gun, and a level to line your pool perfectly. Don’t forget a measuring tape, scissors, and a rubber mallet to secure the liner smoothly and safely.
Can I Install a Pool Liner by Myself or Do I Need Help?
You can install a pool liner by yourself if you’re careful and patient, but having help makes the process easier and faster. Handling the liner’s size and weight alone can be challenging, so consider asking for assistance.
How Do I Winterize My Pool Liner?
You’ll want to gently tuck your pool liner in for its winter nap by draining water below the skimmer, cleaning the liner, adding antifreeze in pipes, and covering it securely to protect from harsh weather’s embrace.
What Maintenance Is Required to Extend the Liner’s Lifespan?
You should regularly clean the liner and avoid sharp objects near it. Maintain balanced water chemistry and cover the pool when not in use.
These steps help prevent damage and extend your liner’s lifespan effectively.
Conclusion
By following these seven simple steps, you’ll smoothly set your sturdy, sleek above ground swimming pool liner. From prepping the pool frame to filling it with fresh, flowing water, each stage secures a seamless, splash-ready space.
Don’t delay—dive into this delightful DIY project and enjoy endless enjoyment right in your backyard. With a little patience and proper positioning, you’ll prevent pesky problems and protect your pool’s perfect, pristine condition.
Installing the above ground pool liner correctly ensures durability and enhances your swimming experience. Take your time during each step to guarantee a flawless fit and long-lasting results for your above ground swimming pool liner installation.